Can you believe a friend was throwing this away. Once I reinforced it some,
I just got out my paints and had some fun with it.
Turning a plain step stool into a colourful work of art.

The step stool from the top view.
I found this pattern from a picture in a magazine but it was on a little ladder.

My husband, Kitt, built me this pot holder so I could get some, much needed, cupboard space.
I painted the edges around it to match the step stool.
I just took the blue from the step stool and the little flowers from the edge of the stool.
Easy technique to make the little flowers. Dab the end of your paint brush into the colour paint of your choice. Start with the middle of the flower and then with your second colour make five dots around it. It's that easy.
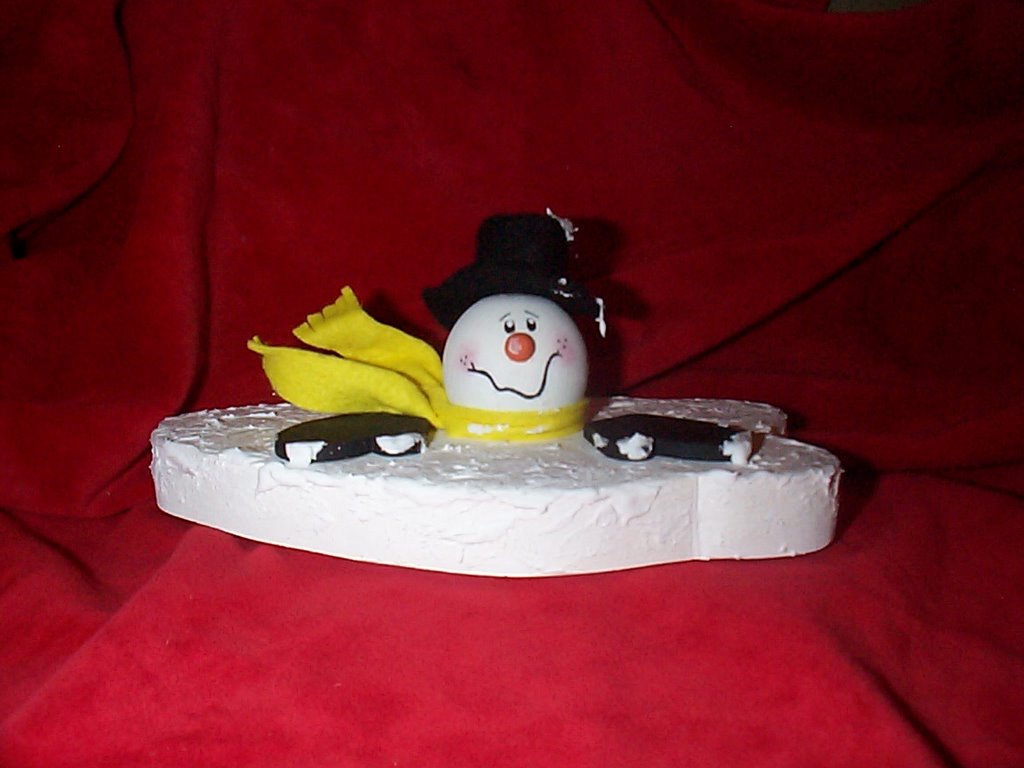
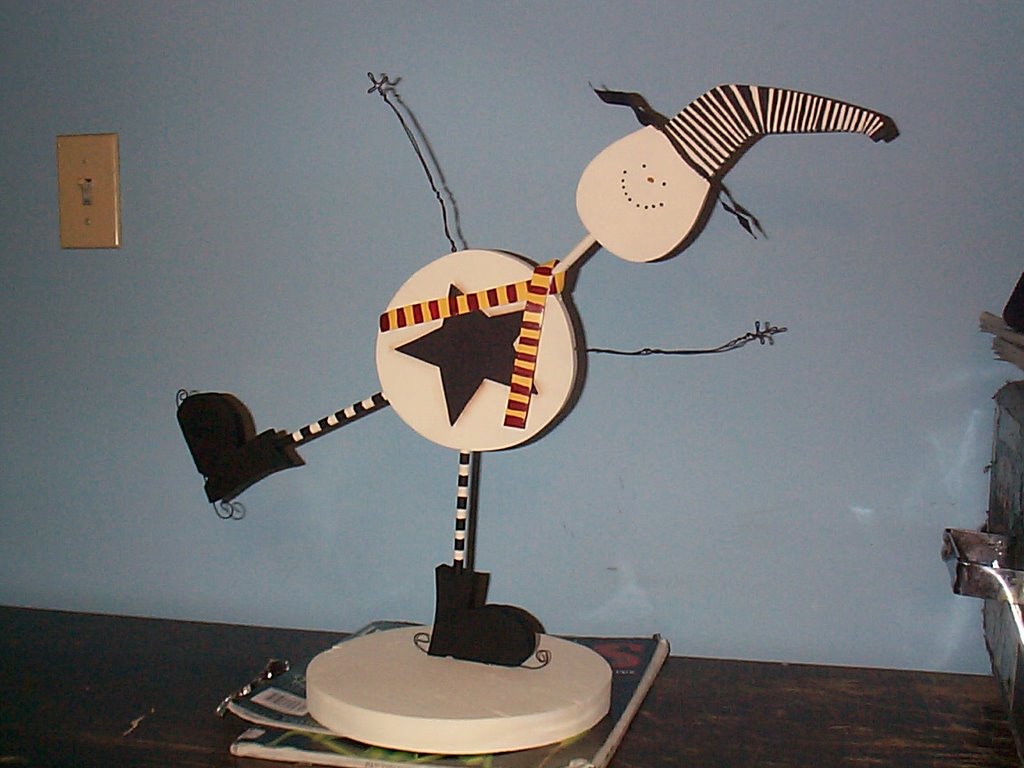
 This little guy warmed my heart; I just had to make him. I cut out the pieces of wood for the puddle of snow and mittens, I then used a purchased wooden ball from my collection and a little wooden plug for his nose. The scarf is just a piece of felt tied around his neck with fringes cut on the ends. The hat is also felt; a rectangle cut and looped around your finger to make a tube then whip stitched closed. Then you cut a circle and whip stitch onto the tube for the brim, cut another smaller circle and fit it inside the top of the hat and stitch that too. Paint all your pieces before you glue it together with wood glue. I also used textured glitter snow to add to the base and a little on the hat and mittens for added effect.